
Setting Up LAMP (Linux, Apache, MySQL/MariaDB, PHP) and PhpMyAdmin on Ubuntu 15.04 Server
LAMP stack is a combination of the most frequently used open source software related to web service. This group includes Apache Web Server, MySQL/MariaDB and PHP. Often the MySQL/MariaDB databases are managed through database management tool such as phpMyAdmin.
This article will guide you through the process of installing LAMP on Ubuntu 15.04 based server.
Requirements:
Before we start, there are few requirements that should be met:
- Minimal installation of Ubuntu 15.04.
- SSH access to the server (if you do not have direct access to the server).
- If the machine will be used as server you should make sure it has a static IP address configured.
Step 1: Set Server Hostname and System Update
1. As soon as your Ubuntu 15.04 server is up and running, access it over SSH and setup the hostname. This can be easily achieved by using:
$ sudo hostnamectl set-hostname your-hostname.com
$ hostnamectl

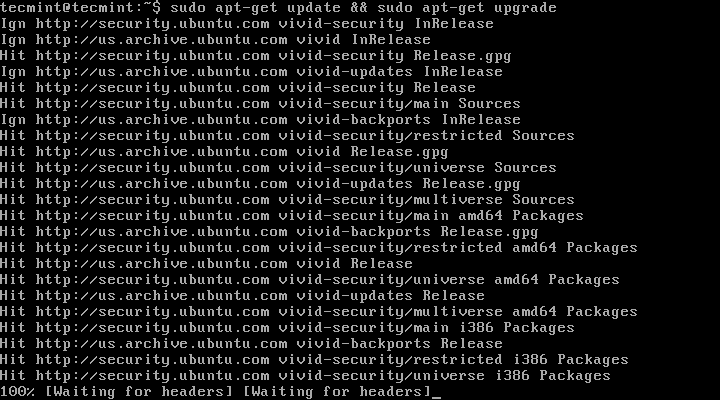
2. To make sure your system is up to date, run the following command:
$ sudo apt-get update && sudo apt-get upgrade
Step 2: Install Apache Webserver
3. Apache is the most frequently used webserver and it hosts most of the sites available online. To install Apache on your server, you can simply type the following command:
$ sudo apt-get install apache2

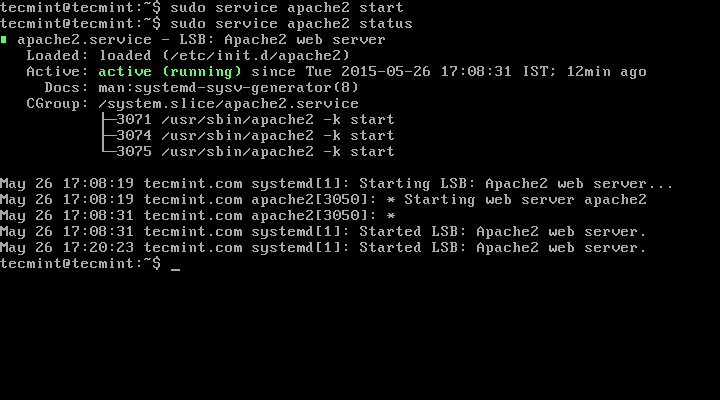
You can now start Apache by running:
$ sudo service apache2 start
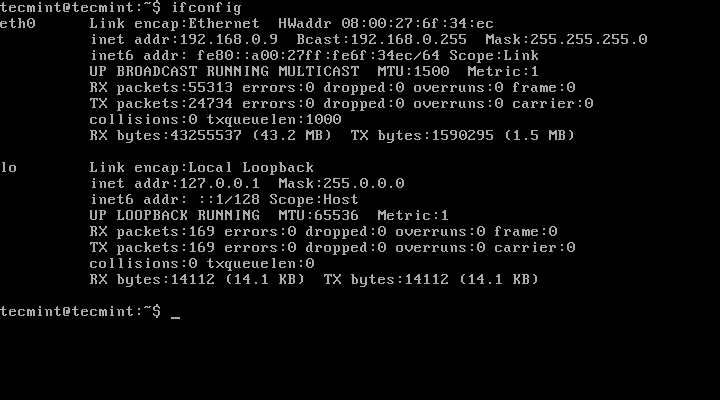
4. To verify if the web server is working correctly, open
http://server-ip-address in your browser. You can find your server IP address by running:$ ifconfig –a
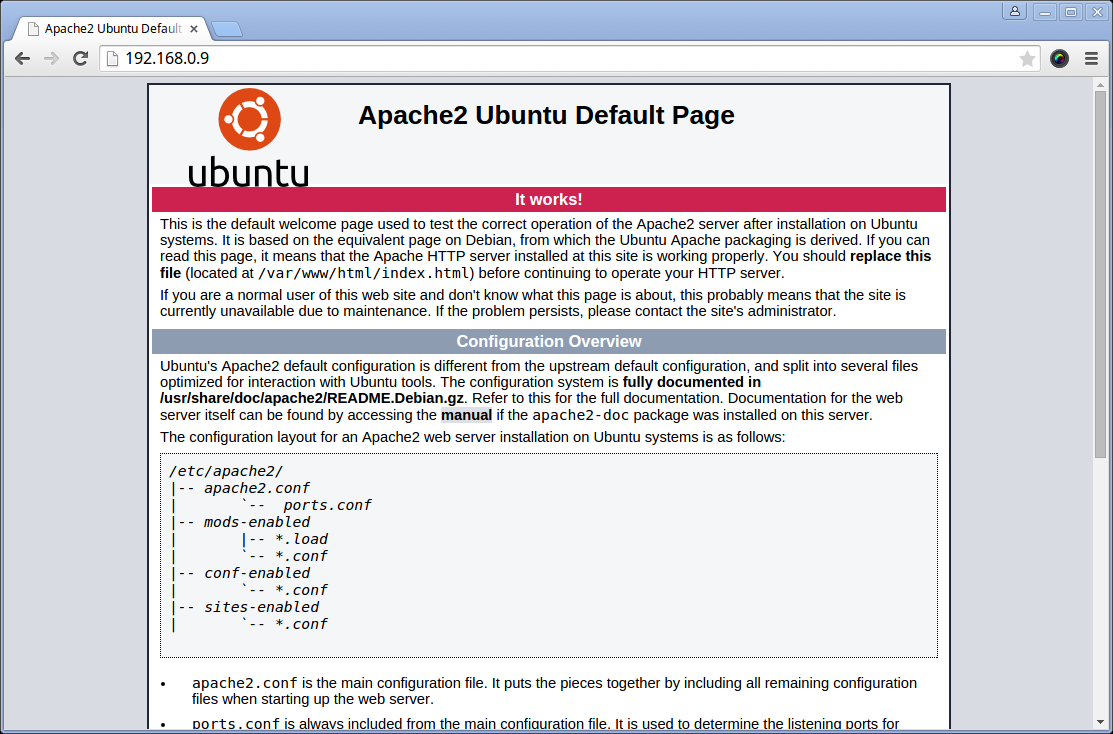
When you access the IP address in browser, you should see a page similar to this:
Step 3: Install PHP with Modules
5. PHP stands for Hypertext Preprocessor . It is a powerful programing language used mostly for generating dynamic web pages frequently used with databases. Notice that PHP code is executed by the web server.
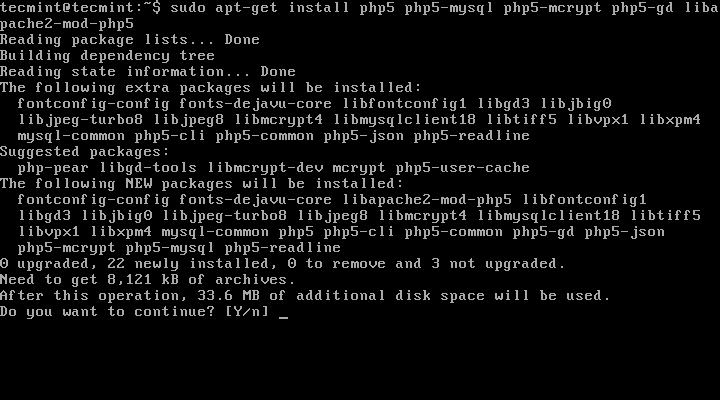
To install PHP simply run the following command:
$ sudo apt-get install php5 php5-mysql php5-mcrypt php5-gd libapache2-mod-php5
6. To test your PHP installation, navigate to the web server root directory and create and open a file named
php_info.php:$ cd /var/www/html/ $ sudo vim php_info.php
Insert the following code:
<?php phpinfo(); ?>
Save the file and load it in your browser by typing
http://your-ip-address/php_info.php. You should see the output of the phpinfo() function that will provide information about your PHP setup: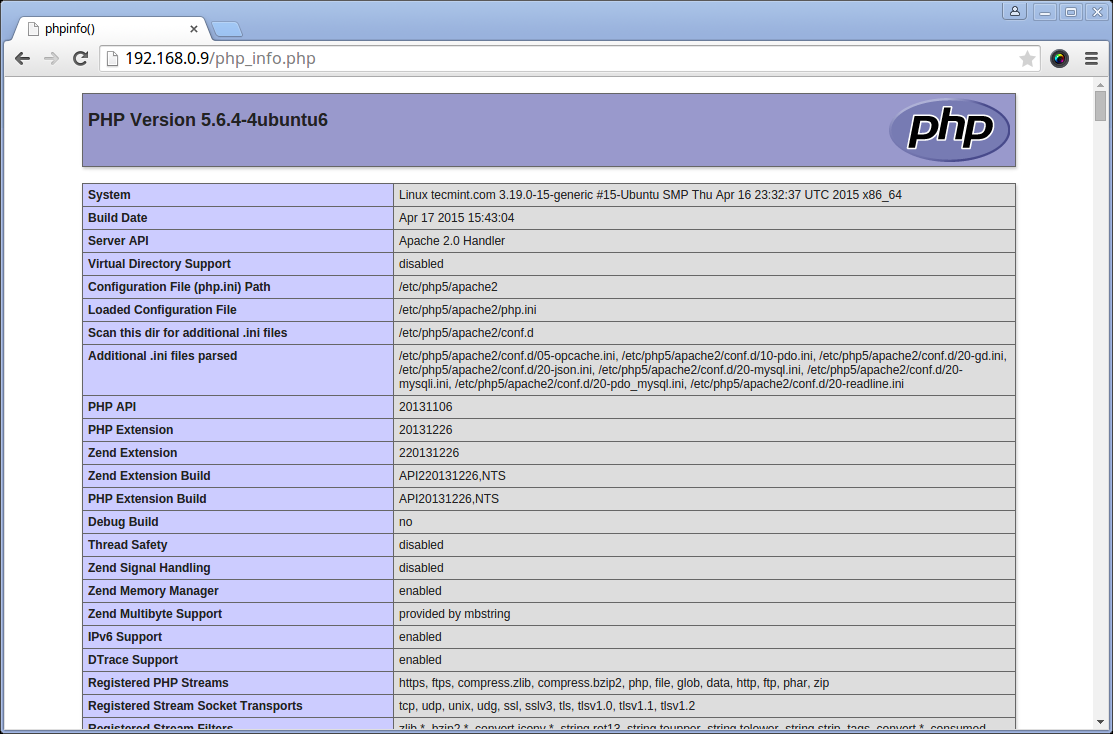
You can install more PHP modules later. To search for more modules simply use:
$ sudo apt search php5
Step 4: Install MariaDB Server and Client
7. MariaDB is a relatively new database management system that is community-developed. It is a fork of MySQL, intended to remain free under the GNU GPL. The project is led by the original developers of MySQL due to Oracle gaining control over MySQL distribution. It basically provides the same functionality as MySQL and there is nothing to fear here.
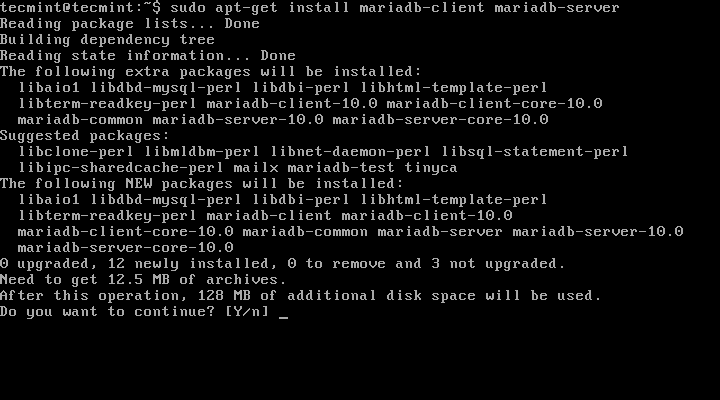
To install MariaDB in Ubuntu 15.04 run the following command:
$ sudo apt-get install mariadb-client mariadb-server
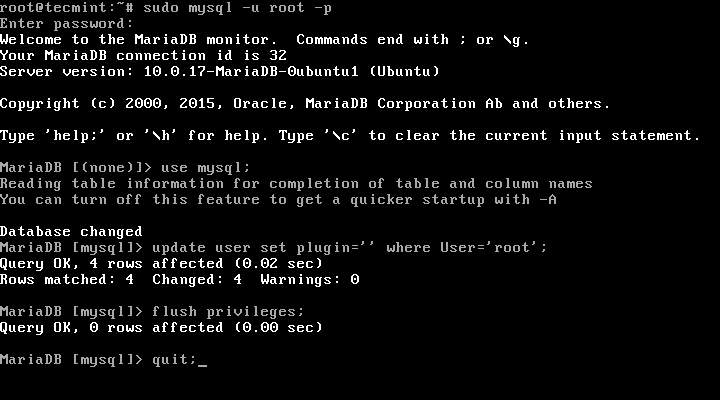
8. During installation, you will not be asked to setup password for the MariaDB root user. To do this, you will need to issue the following set of commands:
$ sudo mysql –u root
$ use mysql;
$ update user set plugin='' where User='root';
$ flush privileges;
$ quit
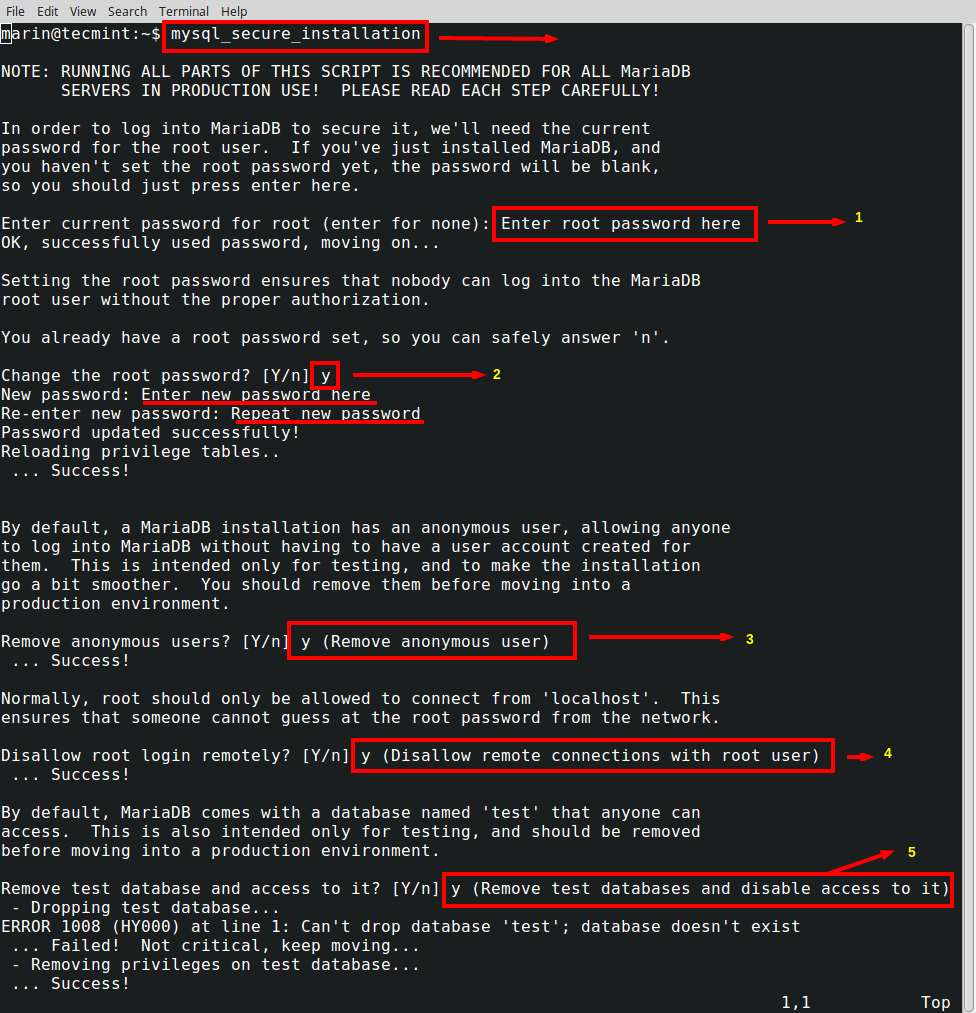
Now the root user can be secured by using the following command:
$ mysql_secure_installation

Step 5: Install PhpMyAdmin
9. PhpMyAdmin is a web interface through which you can easily manage/administer your MySQL/MariaDB databases. The installation is really simple and can be completed with the following command:
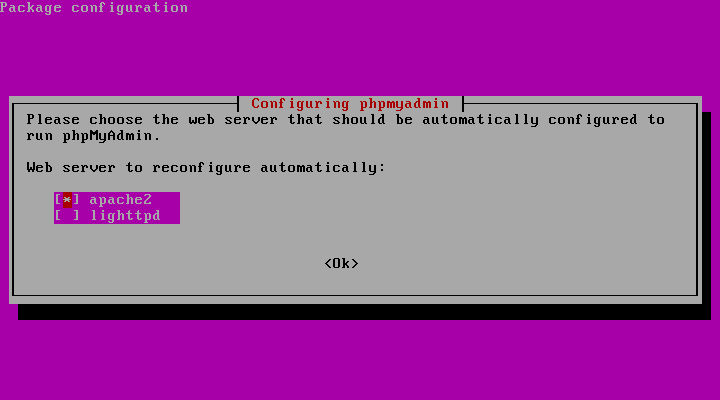
$ sudo apt-get install phpmyadmin

Upon installation you will be asked to select the web server you are using. Select “Apache” and continue:
10. Next you will be asked if you wish to configure phpMyAdmin with dbconfig-common. Select “No” as shown in the screenshot:

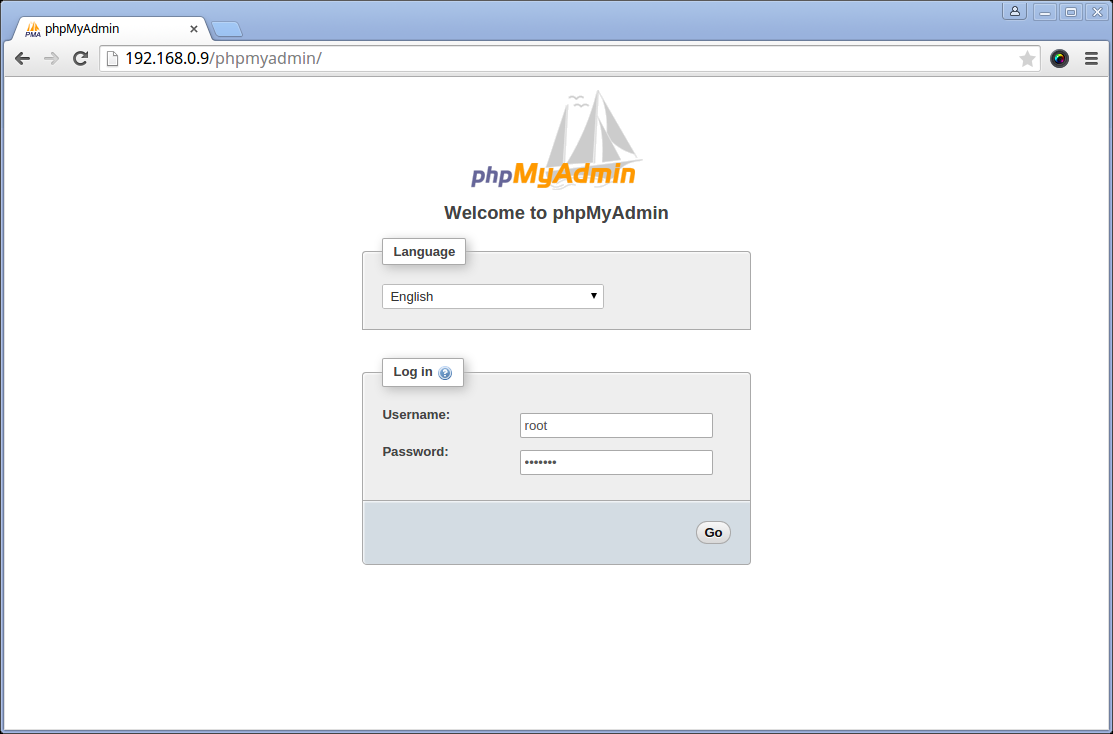
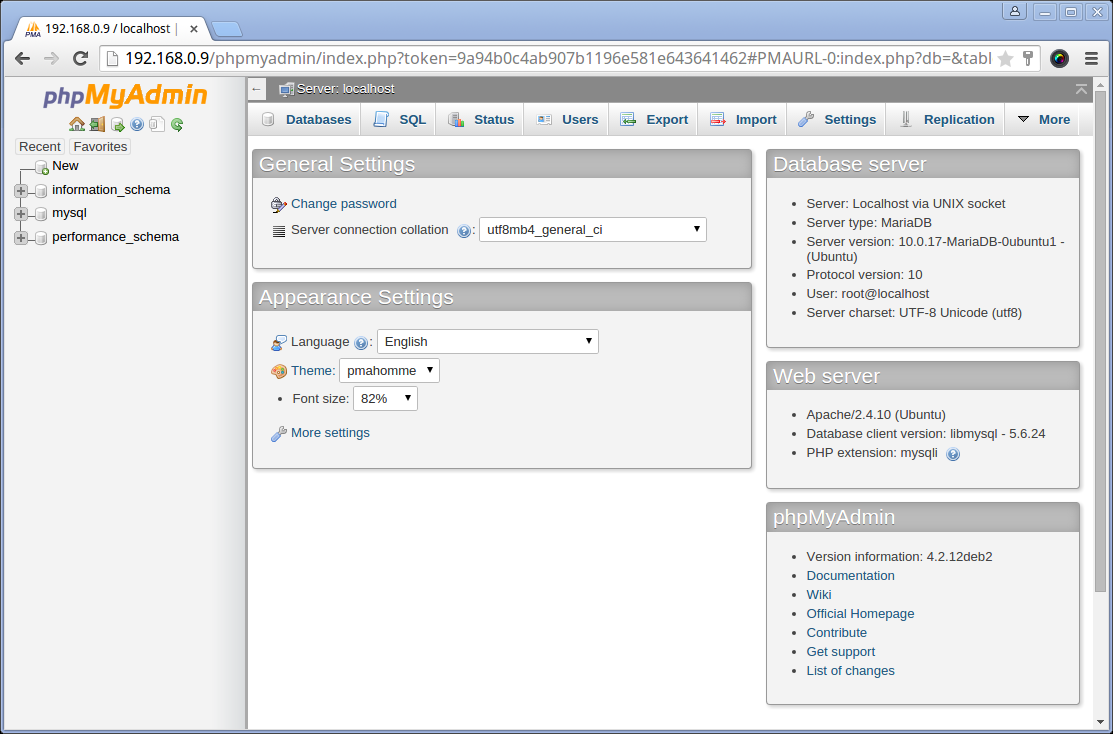
At this point your phpMyAdmin installation is complete. To access it you can use
http://your-ip-address/phpmyadmin:
To authenticate you can use the MySQL root user and the password that you setup earlier for that user.
Step 6: Start LAMP at System Boot
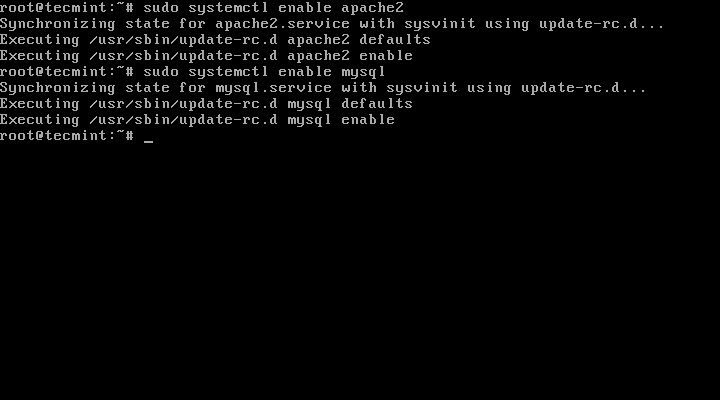
11. Even though the installers should have configured both Apache and MariaDB to start automatically upon system boot, you can just in case run the following commands to ensure that they are enabled:
$ sudo systemctl enable apache2
$ sudo systemctl enable mysql
You can perform a system reboot to ensure that all services start normally as expected.
That is all. Your Ubuntu 15.04 server is now running the LAMP stack and you are ready to build or deploy your web projects on it.
Terimakaih telah mengunjungi web saya 